Transaction Monitoring (TM)
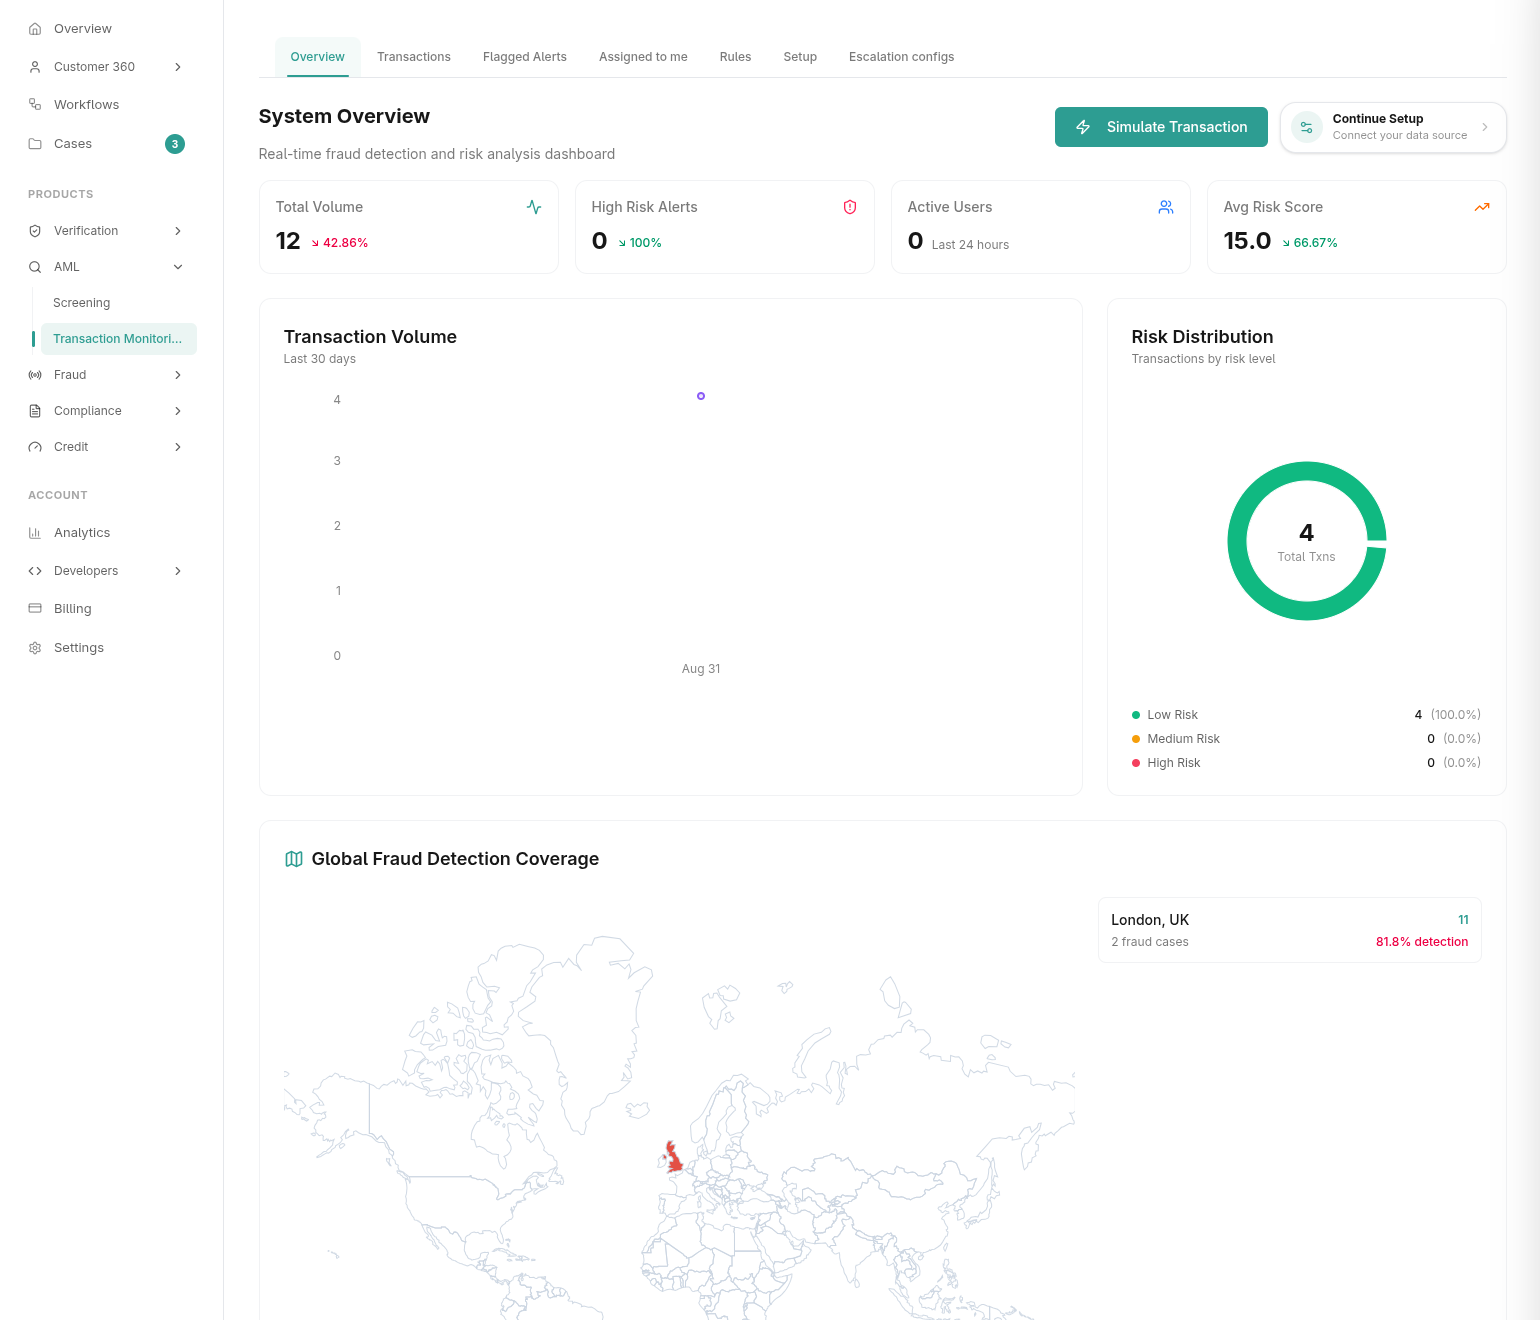
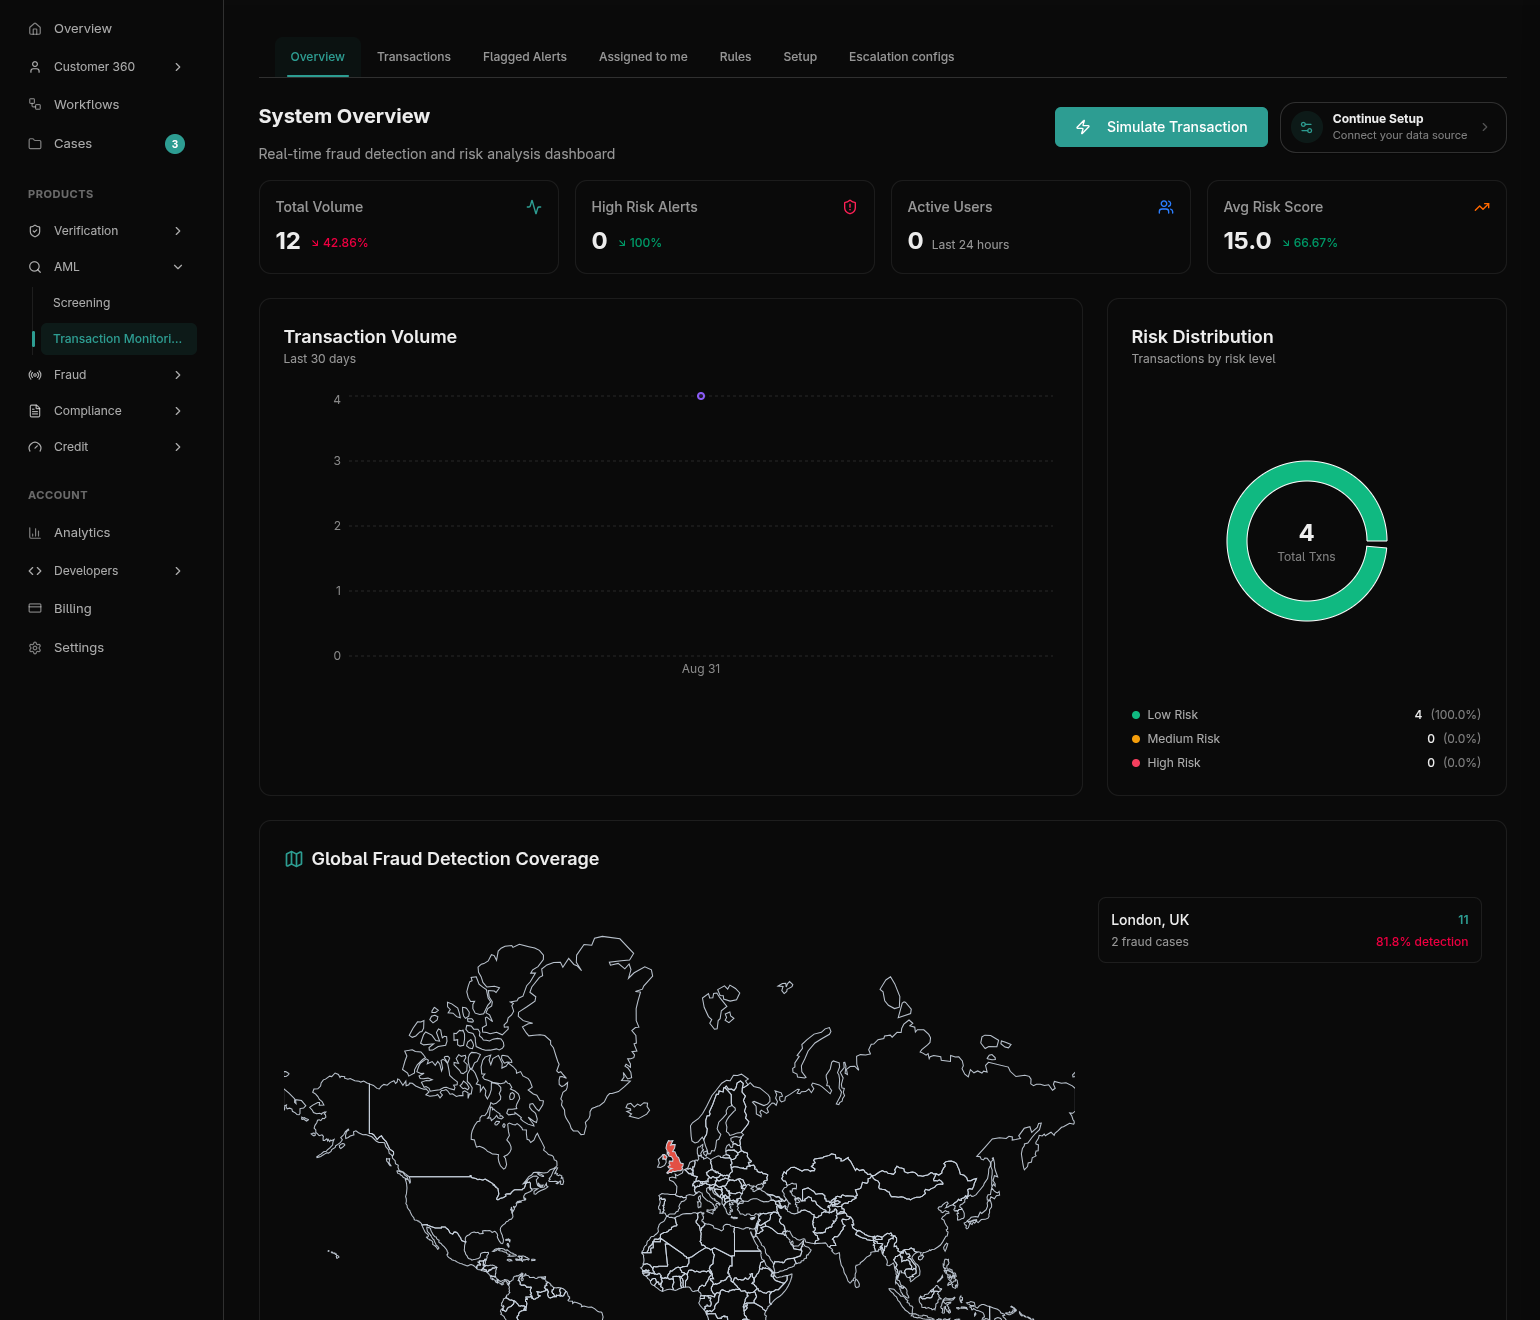
Prembly's Transaction Monitoring module allows organizations to screen transactions continuously for suspicious behavior, velocity spikes, and high ML-driven fraud probabilities. Instead of building complex rule engines from scratch, Prembly provides curated, industry-specific Rule Groups that can be adopted with a single click.
1. External API Integration (Screening Transactions)
To actually monitor your transactions, you must connect your backend to Prembly's TM engine. This is done via our external Screening API.
Whenever a user performs a transaction on your platform, you pipe the transaction payload to the screening endpoint:
POST https://api.prembly.com/api/v1/fraud/transaction-monitoring/screen-transaction
X-API-Key: <your_api_key>
The TM engine instantly evaluates the transaction against your Active Rules. If it triggers an auto_block rule, the API will immediately return a blocked response so you can halt the transaction on your end.
2. Understanding Rule Groups (Collections)
Historically, organizations had to pick and choose individual rules to build their monitoring engine. Now, Prembly organizes rules into curated Rule Groups tailored to specific industries. This ensures your business is instantly protected against the exact fraud vectors most common to your sector.
Popular Industry Suites
When navigating to Transaction Monitoring > Rules, you can browse and adopt the following packages:
- Fintech Fraud Prevention Suite: (Payment processors, digital wallets). Includes rules for Velocity Spike Detection and New Device High Amounts.
- Banking & Financial Services: (Commercial banks). Includes Cross-Border Transaction Alerts and Suspicious Geo-Location Patterns.
- E-Commerce Protection Package: (Online retail). Includes Unusual Payment Method triggers.
- Crypto & Blockchain Security: (Exchanges, DeFi). Specialized rules for high-value immediate withdrawals.
3. Adoption & Customization Workflow
Setting up your Transaction Monitoring engine is a streamlined process.
Step 1: Adopt a Rule Group
- Browse the available Rule Groups in the dashboard.
- Click Adopt Group.
- The system will copy all the rules inside that group into your organization. Note: All adopted rules are placed into a "Draft" status by default to prevent accidental blocking of legitimate transactions.
Step 2: Customize Rules
While the rules are in "Draft" mode, you can customize their parameters to fit your risk appetite:
- Severity Levels: Assign Low, Medium, High, or Critical tags to a rule.
- Conditions: Tweak the
amount > 10000orvelocity_count > 5thresholds. - Actions: Determine what happens when the rule triggers. Should it
auto_blockthe transaction? Should itsend_alertvia Email, SMS, or Webhook?
Step 3: Activate
Once you are satisfied with the configuration, change the rule statuses from Draft to Active. The API endpoint mentioned above will now actively screen against these finalized rules.
4. Managing Flagged Transactions & Escalations
When an active rule catches a suspicious transaction, it is routed into your review queues based on its severity.
Flagged Queue
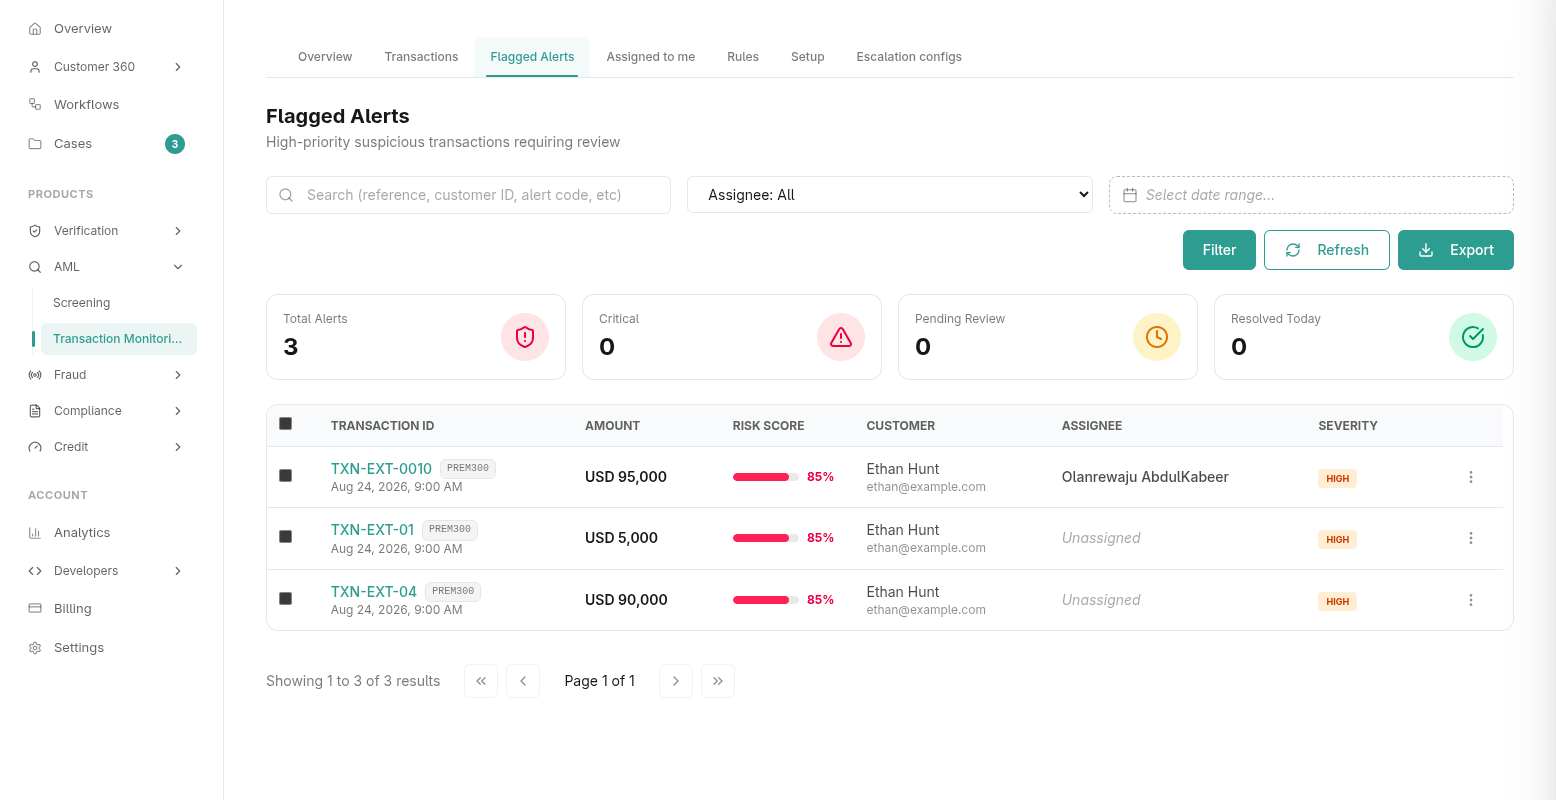
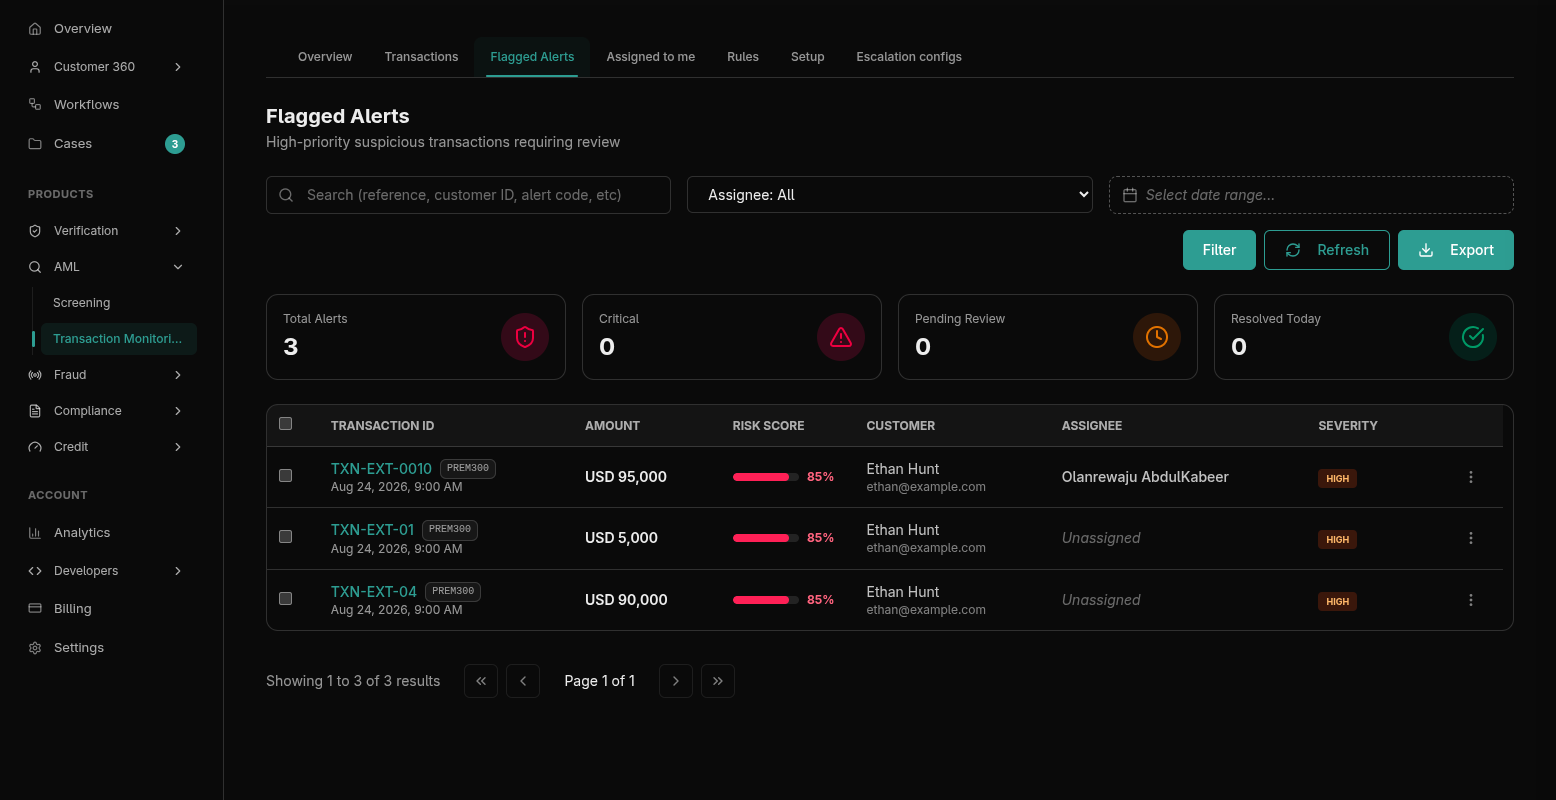
Transactions that trigger Medium or High severity rules (without auto_block enabled) appear in the Flagged queue. Your operations team can review the transaction details, the user's history, and the specific rule that was triggered. They can then manually approve or reject the transaction.
Escalations
For complex cases or Critical severity triggers (like cross-border money laundering suspicions), transactions can be routed into the Escalations queue. From here, compliance officers can escalate the transaction directly into the Case Management module for a deep legal or forensic review.